Octopi – Send Prints From Cura

Cura allows users to send and monitor prints directly from the slicer.  Adding this new option send the prints to Octopi, starts the print and will show a preview window with of a webcam.  There is another option to store the G-code directly to the SD card on the printer but it is not recommended.
Instructions:

Verify Octoprint plugin is installed

With Cura open, click on Plugins and Browse Plugins..

In the preferences window, verify that OctoPrint Connection is checked.
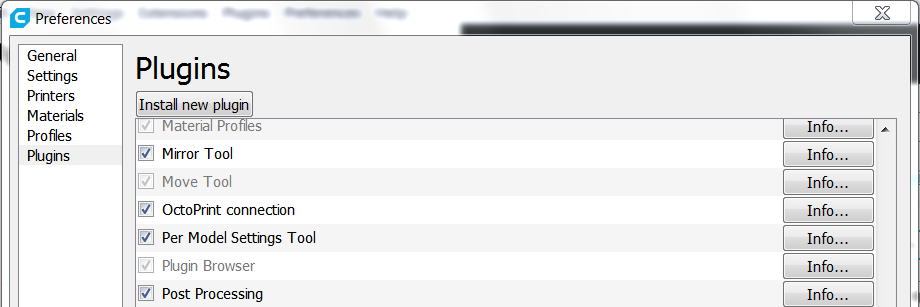
If the option for Octoprint Connection is unavailable , select Plugins and Browse Plugins.. from the main menu.  Download the OctoPrint Connection plugin.

Configuring Cura for Octoprint

With Cura open, click on Preferences and Configure Cura..


Click on Printers in the left menu.  Click on Connect OctoPrint.

The default setting connects to octopi.local/I have found this to be unreliable so I created a new setting that points to the static local IP of my Raspberry PI (Octopi).   To do this click the Add button.


Type an instance name.  You can use any name you want.  This would be useful if you have more than one Raspberry Pi setup.

Type in the IP address for you Raspberry Pi running Octopi.  The default port number is 80.  Click on the Ok button.


You will need the API Key from Octopi to complete the connection to Cura.  Navigate to the home page on your Octopi Setup.  (octopi.local/).

Click on the wrench on the menu bar of the webpage to open OctoPrint settings.

In the left menu, click on API.

The API Key will be in the field to the right.  Copy the text for the API key.


Navigate back to Cura.  You will need to enter the API Key in the field below.  You have the option to check Automatically start print job after uploading, Show webcam image and Store G-code on the printer SD card. 

I checked all except the option to save the G-Code to the printer SD card.

Click Close.

There will now be an option to Print with Octoprint in Cura.

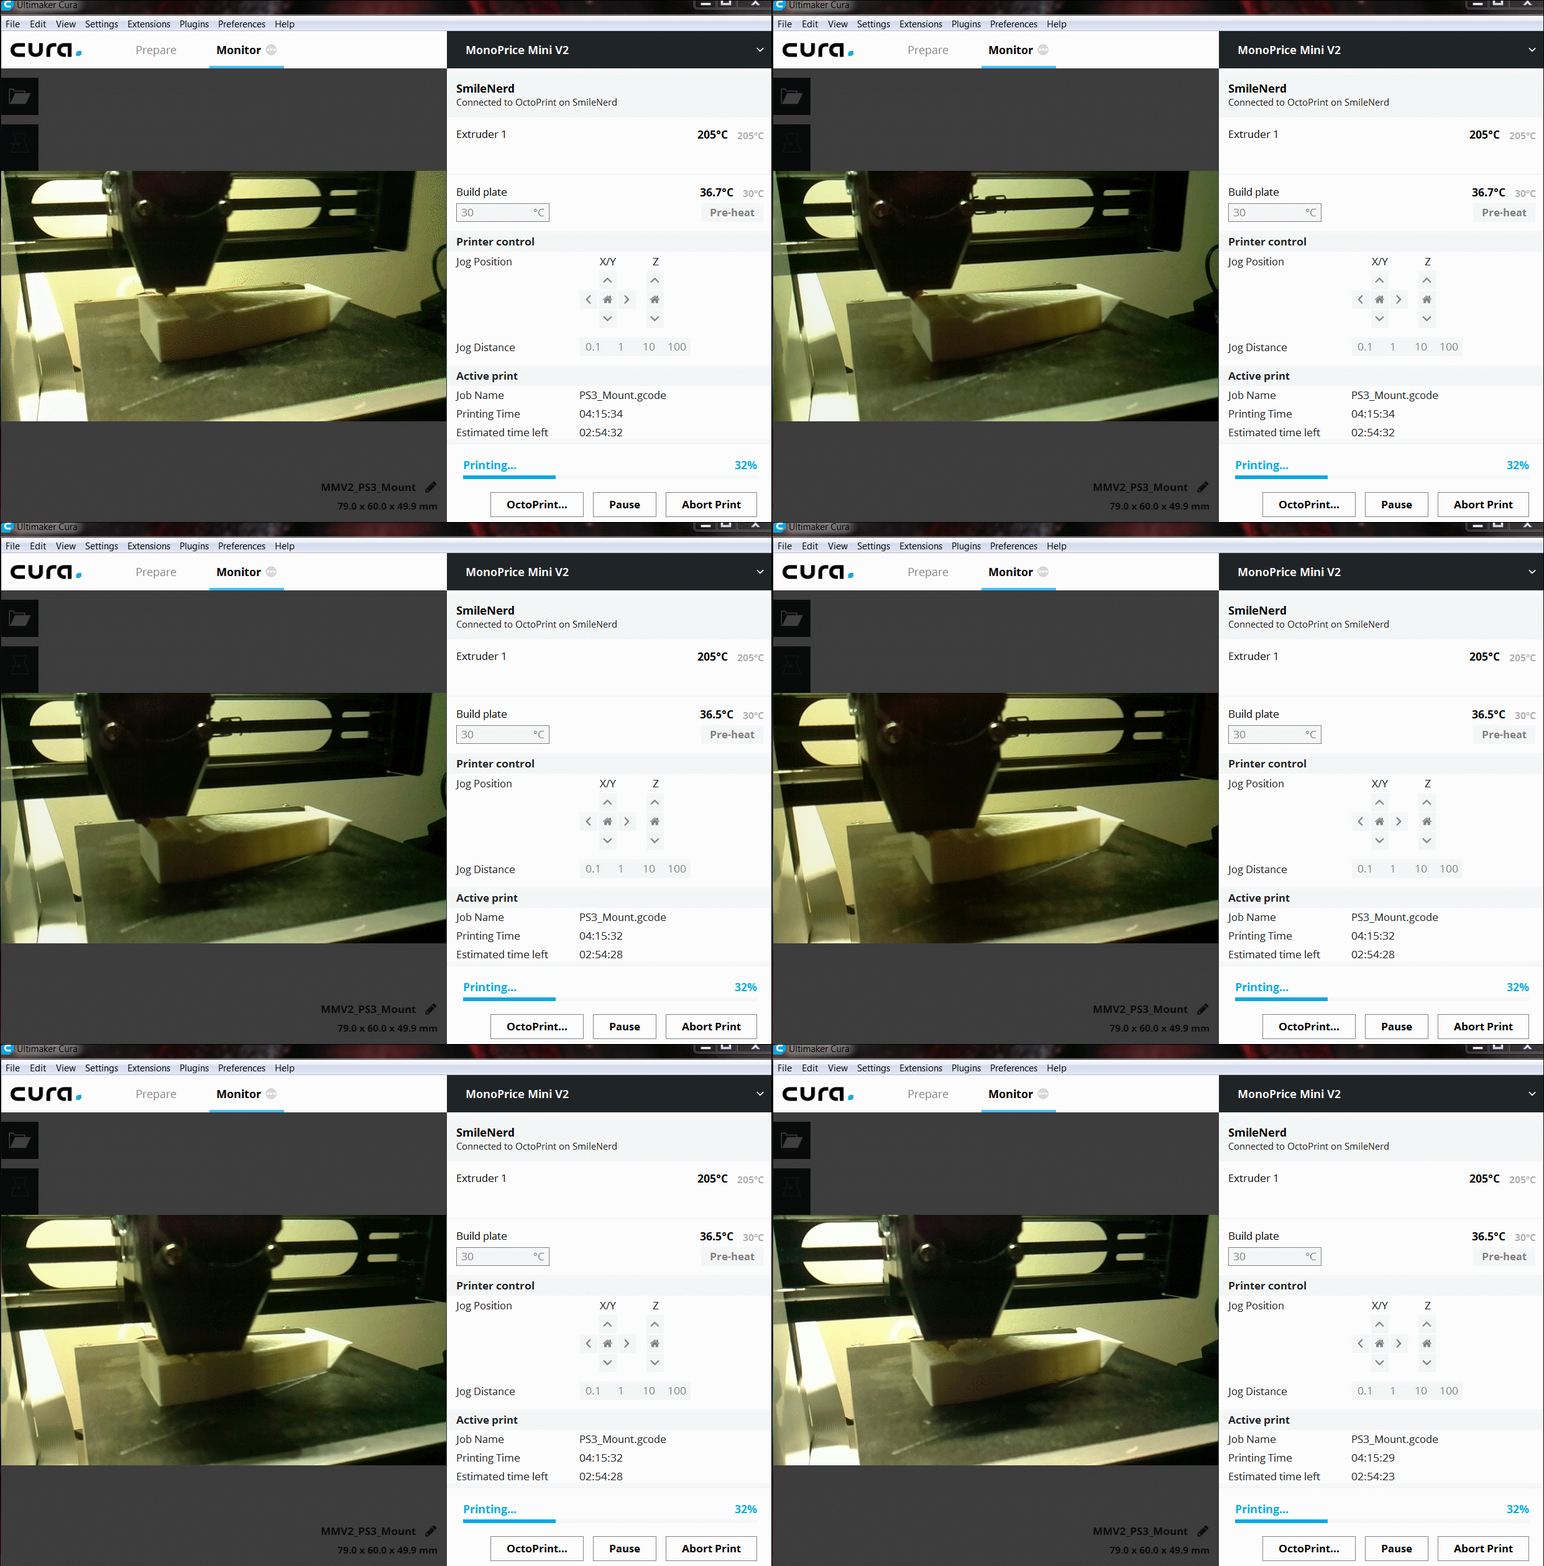
The monitor tab can be used to control the printer, view printer stats and webcam.

Octopi – Timelapse – Camera Setting

I recently covered how to remove the octopus from your time lapse in my article here.  Another setting that I had to change was the camera resolution.  I’m only using a $5 Raspberry Pi camera from Ebay but it is much better than the defaults used by Octopi.

You will need to SSH into your Raspberry Pi.

You will need to install Putty or WinSCP to SSH into your Raspberry Pi.  I will not cover that in this tutorial.  If you are not sure how to SSH into your Raspberry Pi, go learn how to do that and come back here.  There are thousands of tutorials on the internet but basically you will enter the IP address and SSH port number (typically 22) and your username and password to get to the terminal.

Once at the terminal, you will need to type the following command to get to the correct directory.

cd /boot/

Next, type the command to open the octopi.txt file to change the resolution and fps settings.

sudo nano octopi.txt

Edit the octopi.txt file by pressing down on the keyboard until you get to the #camera_raspi_options=”-fps 10″ setting.  Create a line under this comment using the code below.

camera_raspi_options="-fps 10 -x 1280 -y 720"

Press Control+X to exit.  Save the file and reboot your Raspberry Pi.

You are done.  Enjoy the updated resolution settings.


Octopi – Timelapse – Watermark Removal

The timelapse feature in Octopi is awesome.  It is even better with the pesky little octopus in the bottom left corner.  I will walk you the steps to remove the watermark from your videos.

You will need to SSH into your Raspberry Pi.

You will need to install Putty or WinSCP to SSH into your Raspberry Pi.  I will not cover that in this tutorial.  If you are not sure how to SSH into your Raspberry Pi, go learn how to do that and come back here.  There are thousands of tutorials on the internet but basically you will enter the IP address and SSH port number (typically 22) and your username and password to get to the terminal.

Once at the terminal, you will need to type the following command to get to the correct directory.

cd ~/.octoprint/

Next, type the command to open the config.yaml file to change the watermark setting.

sudo nano config.yaml

Edit the config.yaml file by pressing down on the keyboard until you get to the webcam settings.  You will need to either create the watermark line in this file or change the setting from true to “false” by typing over the current configuration.

webcam:
ffmpeg:  /usr/bin/avconf
watermark:  false

Below is an example of my configuration with the watermark removed.

Press Control+X to exit.  Save the file and reboot your Raspberry Pi.

You are done.  Enjoy a watermark free image.